Requirements
In order to get any email functionality on your WordPress site while on our service, you will need to configure an external SMTP service through the use of the Mail SMTP Plugin or a similar one.
Why do I need an external SMTP?
WordPress uses what is called the PHP Sendmail function by default. This is an PHP extension that allows any piece of code to send unsolicited email without validation. This technique is used by WordPress and most plugins systems to send email without having to configure an SMTP server. The system is considered unsecure and is usually a target for abuse by hackers and badly coded plugins. Furthermore, sending emails through the standard PHP sendmail function is considered as non-reliable (because the sender identity cannot be verified) and the majority of tech companies will consider them spam or tag them as highly dangerous such as Microsoft Outlook or Google Gmail.
Most WordPress hosting services have limited support for this functionality so as to prevent abuse and suggest customers to install a plugin to connect with an SMTP external service to avoid problems.
To make matters worse, if your account gets hacked in some way and your domain is used with the PHP Sendmail to send thousands of unsolicited emails, your domain could get tagged and added into a Blacklist by popular spam checking services such as barracuda.org and others. This will force you to first identify and remove the threat from your site, then find out which service blacklisted your domain and finally, comply with the requirements of that company to review your domain and remove it from the blacklist. In the meantime your domain will not be able to send emails again until the blacklist is removed.
Since we at Divi Space Hosting believe that security comes first, we have a strict set rules to protect our customers from attacks so we decided to completely disable the PHP sendmail function. With our security in place, even if your account gets compromised, the attacker won't be able to use your access to send unsolicited emails, protecting your domain from getting into any blacklist.
For the reasons explained, having a plugin to connect with an external SMTP service is a requirement on our service.
In this small tutorial we will explain how to do it with free and paid SMTP services by using the WP Mail SMTP plugin.
Install Mail SMTP Plugin
The first thing you need to do is search for WP Mail SMTP plugin

Once the plugin is installed on your WordPress site, let's see how to configure it.
Using third party SMTP service like Sendgrid or Gmail
Most companies allows for free sending of up to 100 mails a month or more depending on their plans. Services like Mailgun, Sendgrid, Sparkpost all have free plans that you can use. In case of Google, their Gmail SMTP service is free as long as you do not send tons of emails at once.
You have to remember that once you install and activate a service with this plugin, all services attached to your WordPress install will be able to send email without further configuration as this function will replace the internal sendmail functionality automatically.

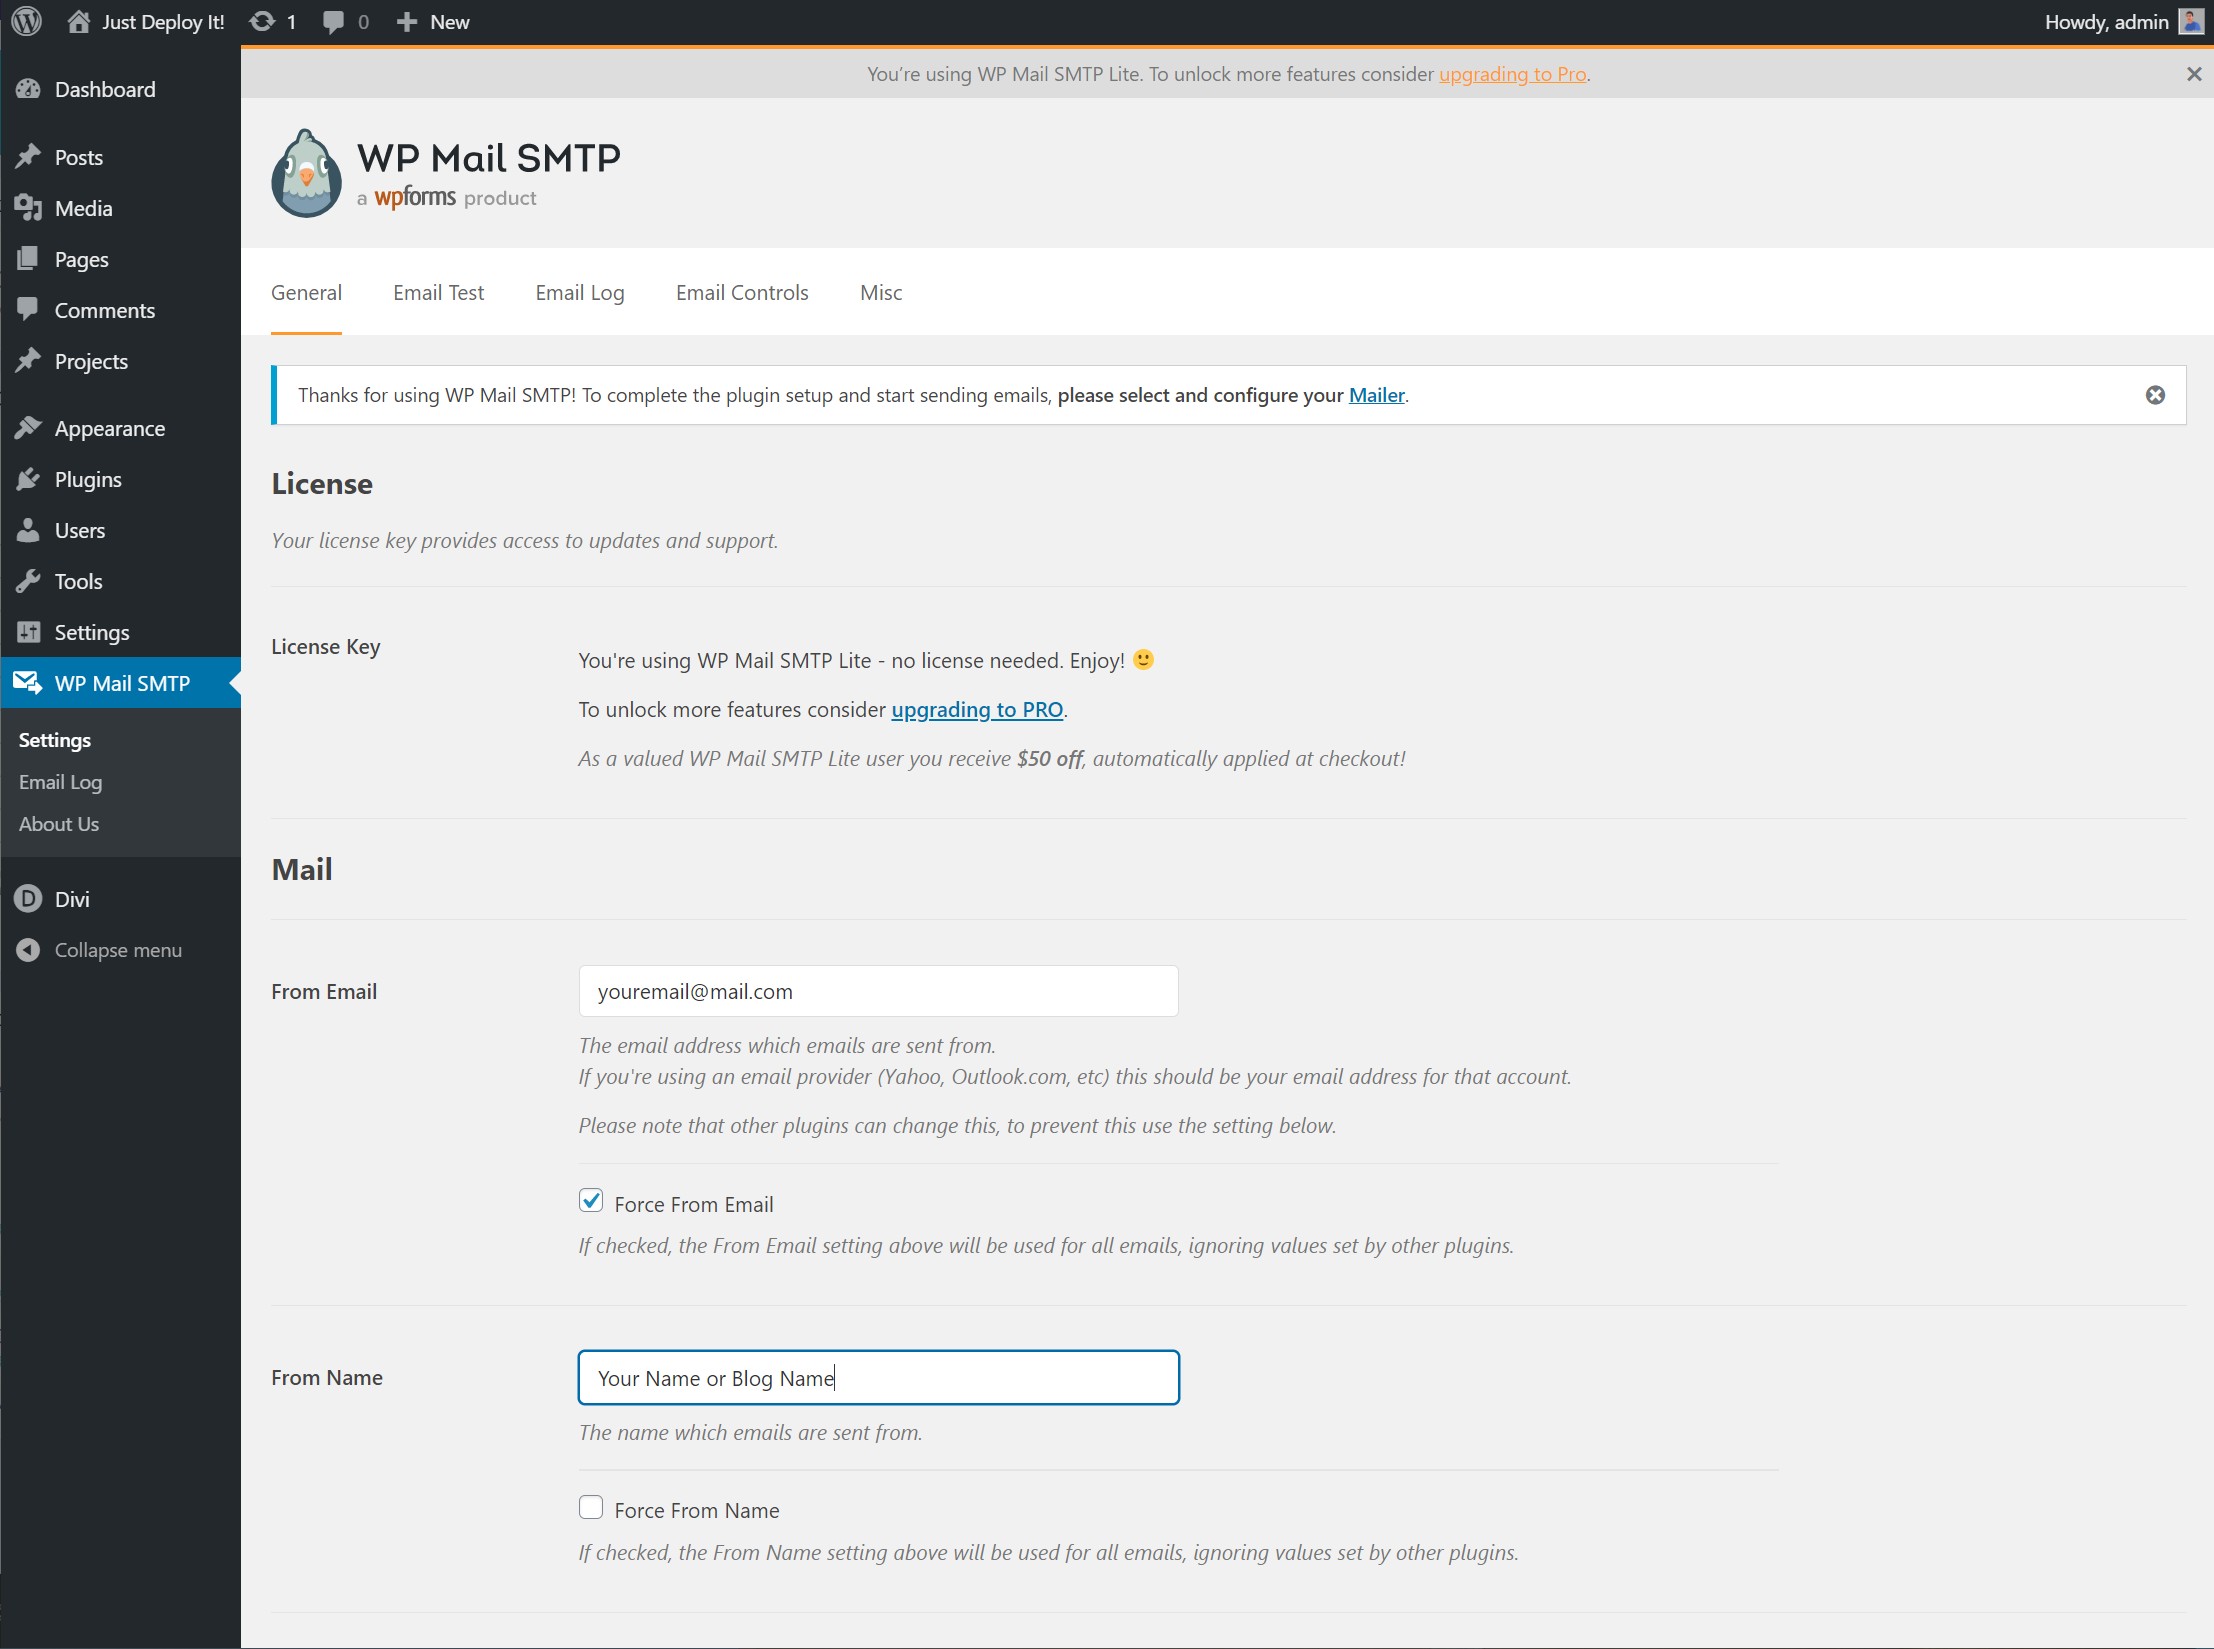
The first thing that we need to do is choose your From Email and From Name. Those are the email and Name that your clients are going to see when the email is sent from your site.
Once we have this in place, let's proceed to select the SMTP service that you want to use.
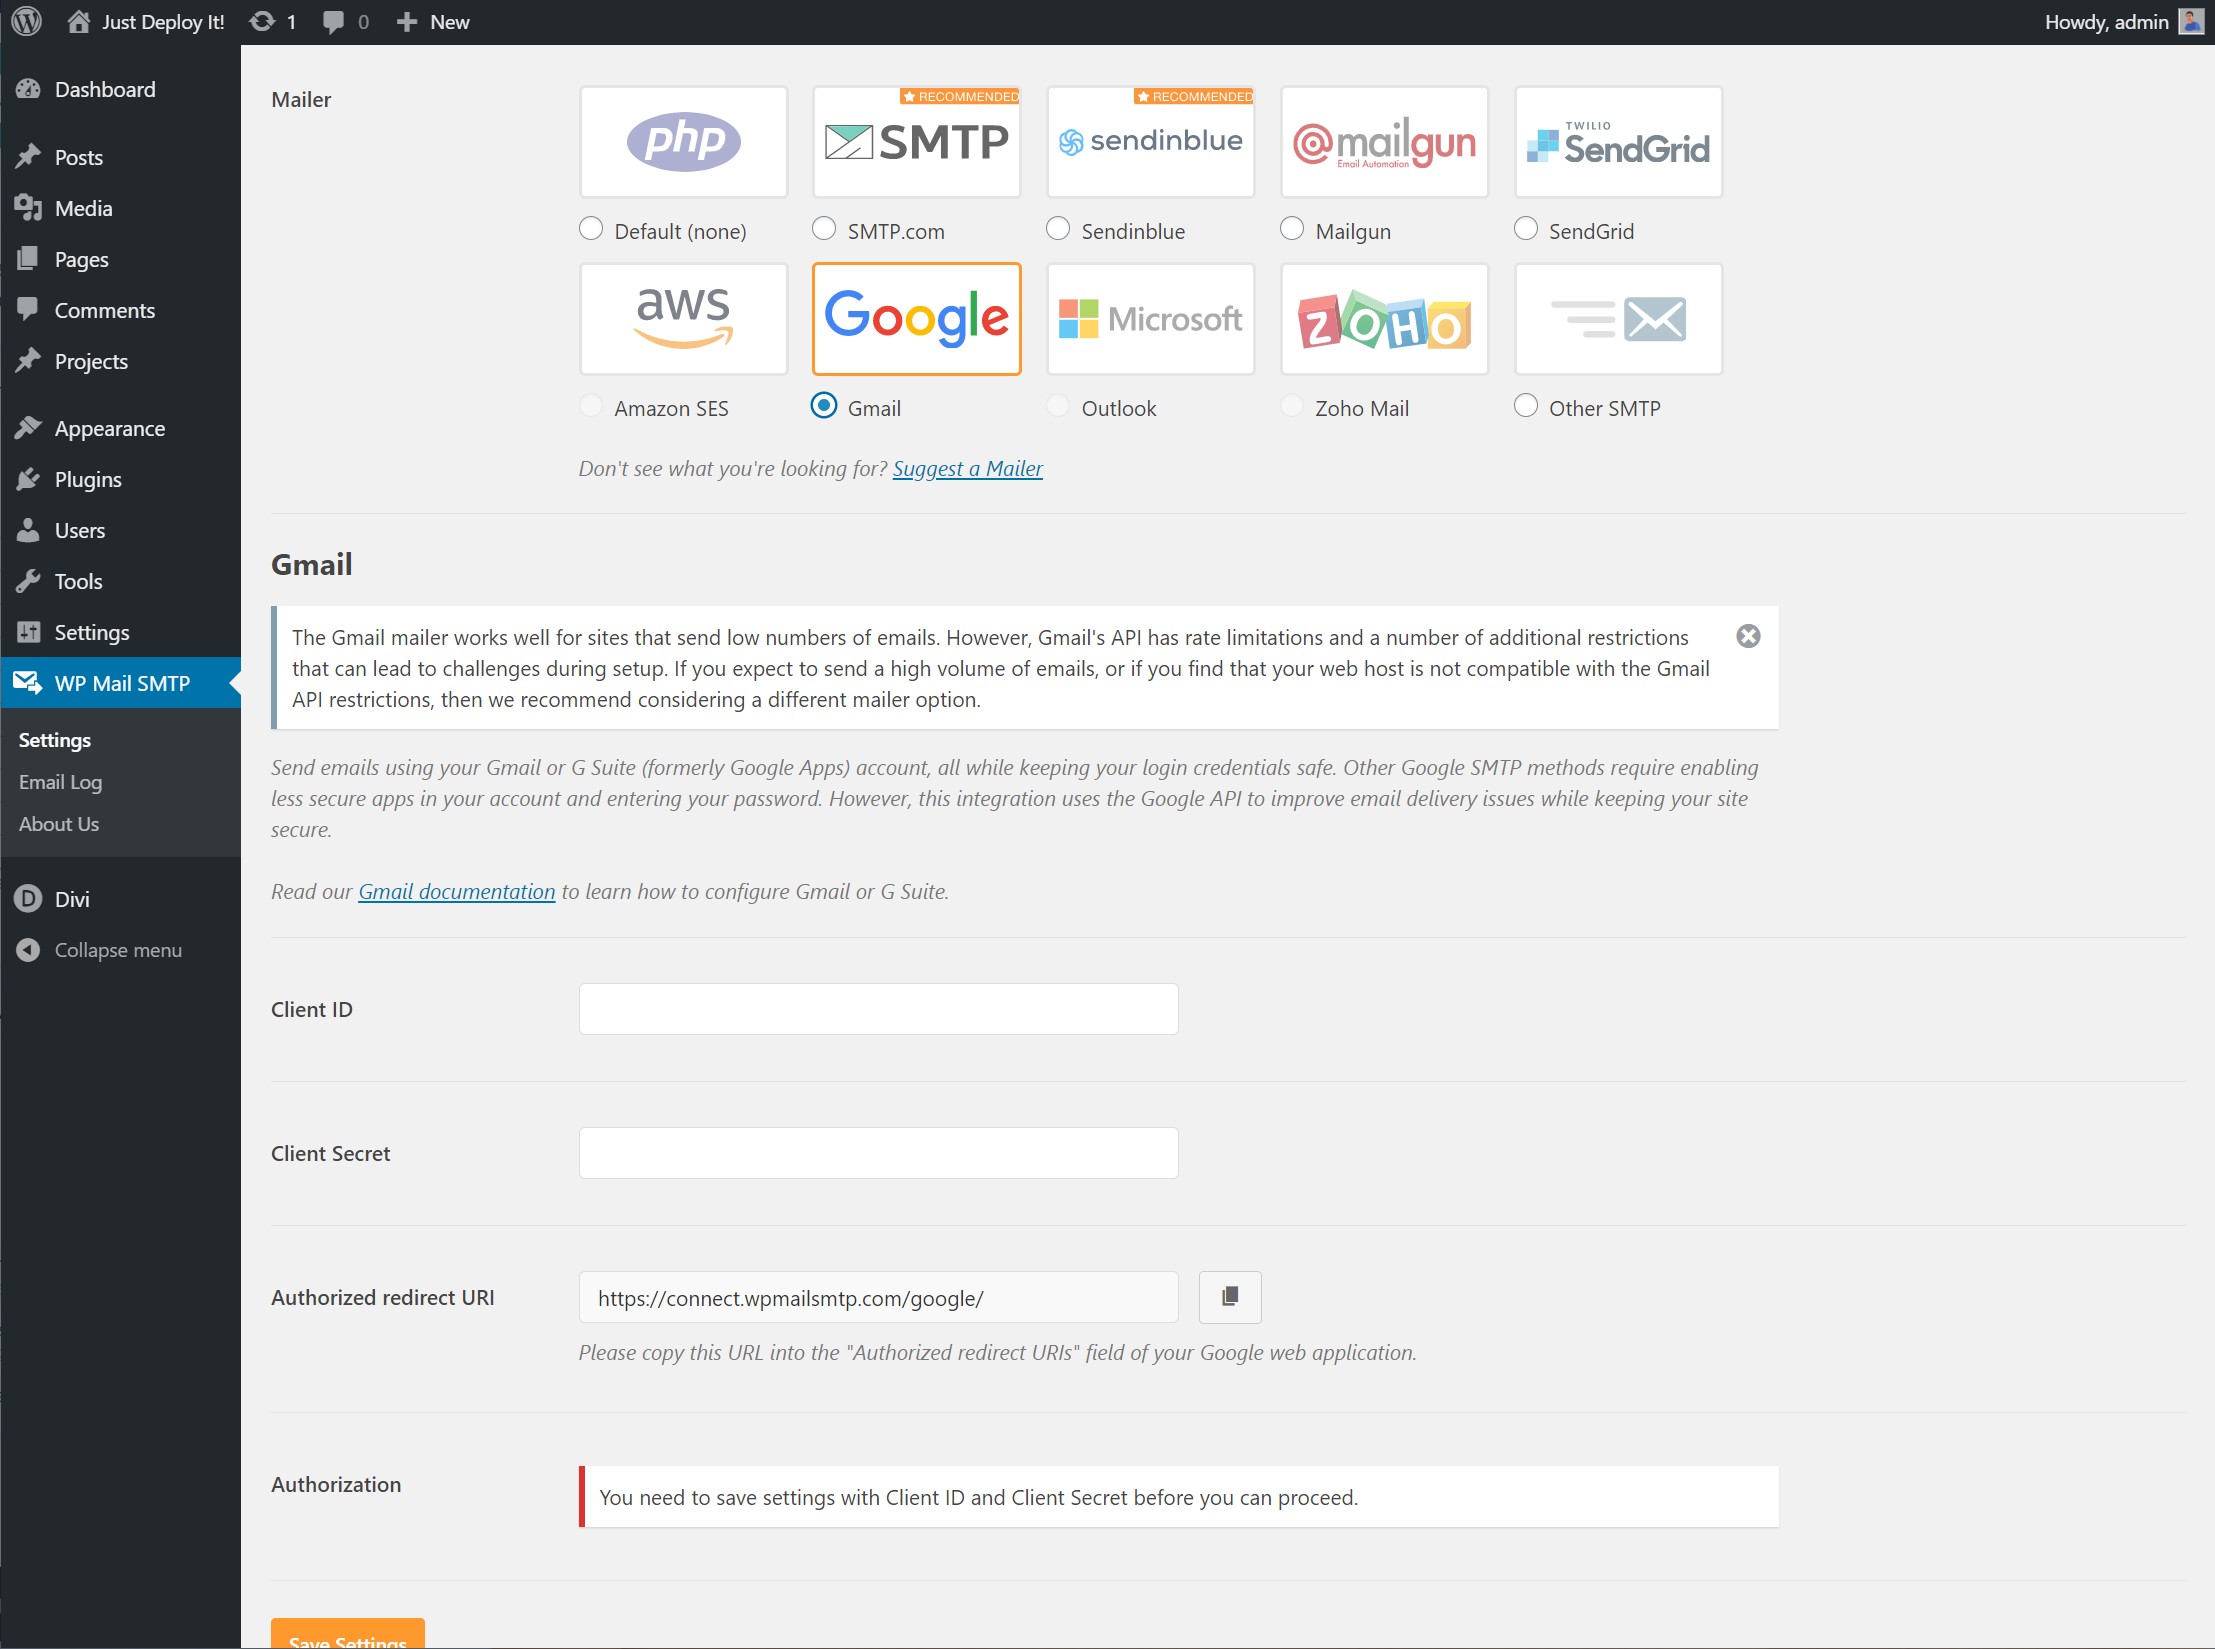
The plugin allows a vast number of services to select from. The most well known are Gmail, Sendgrid and Amazon AWS.
Using Gmail

When selecting Gmail, you will have to complete the ClientID and Client Secret keys to enable authorization. You can do so by following the steps provided by the maker of this plugin here.
Using Sendgrid
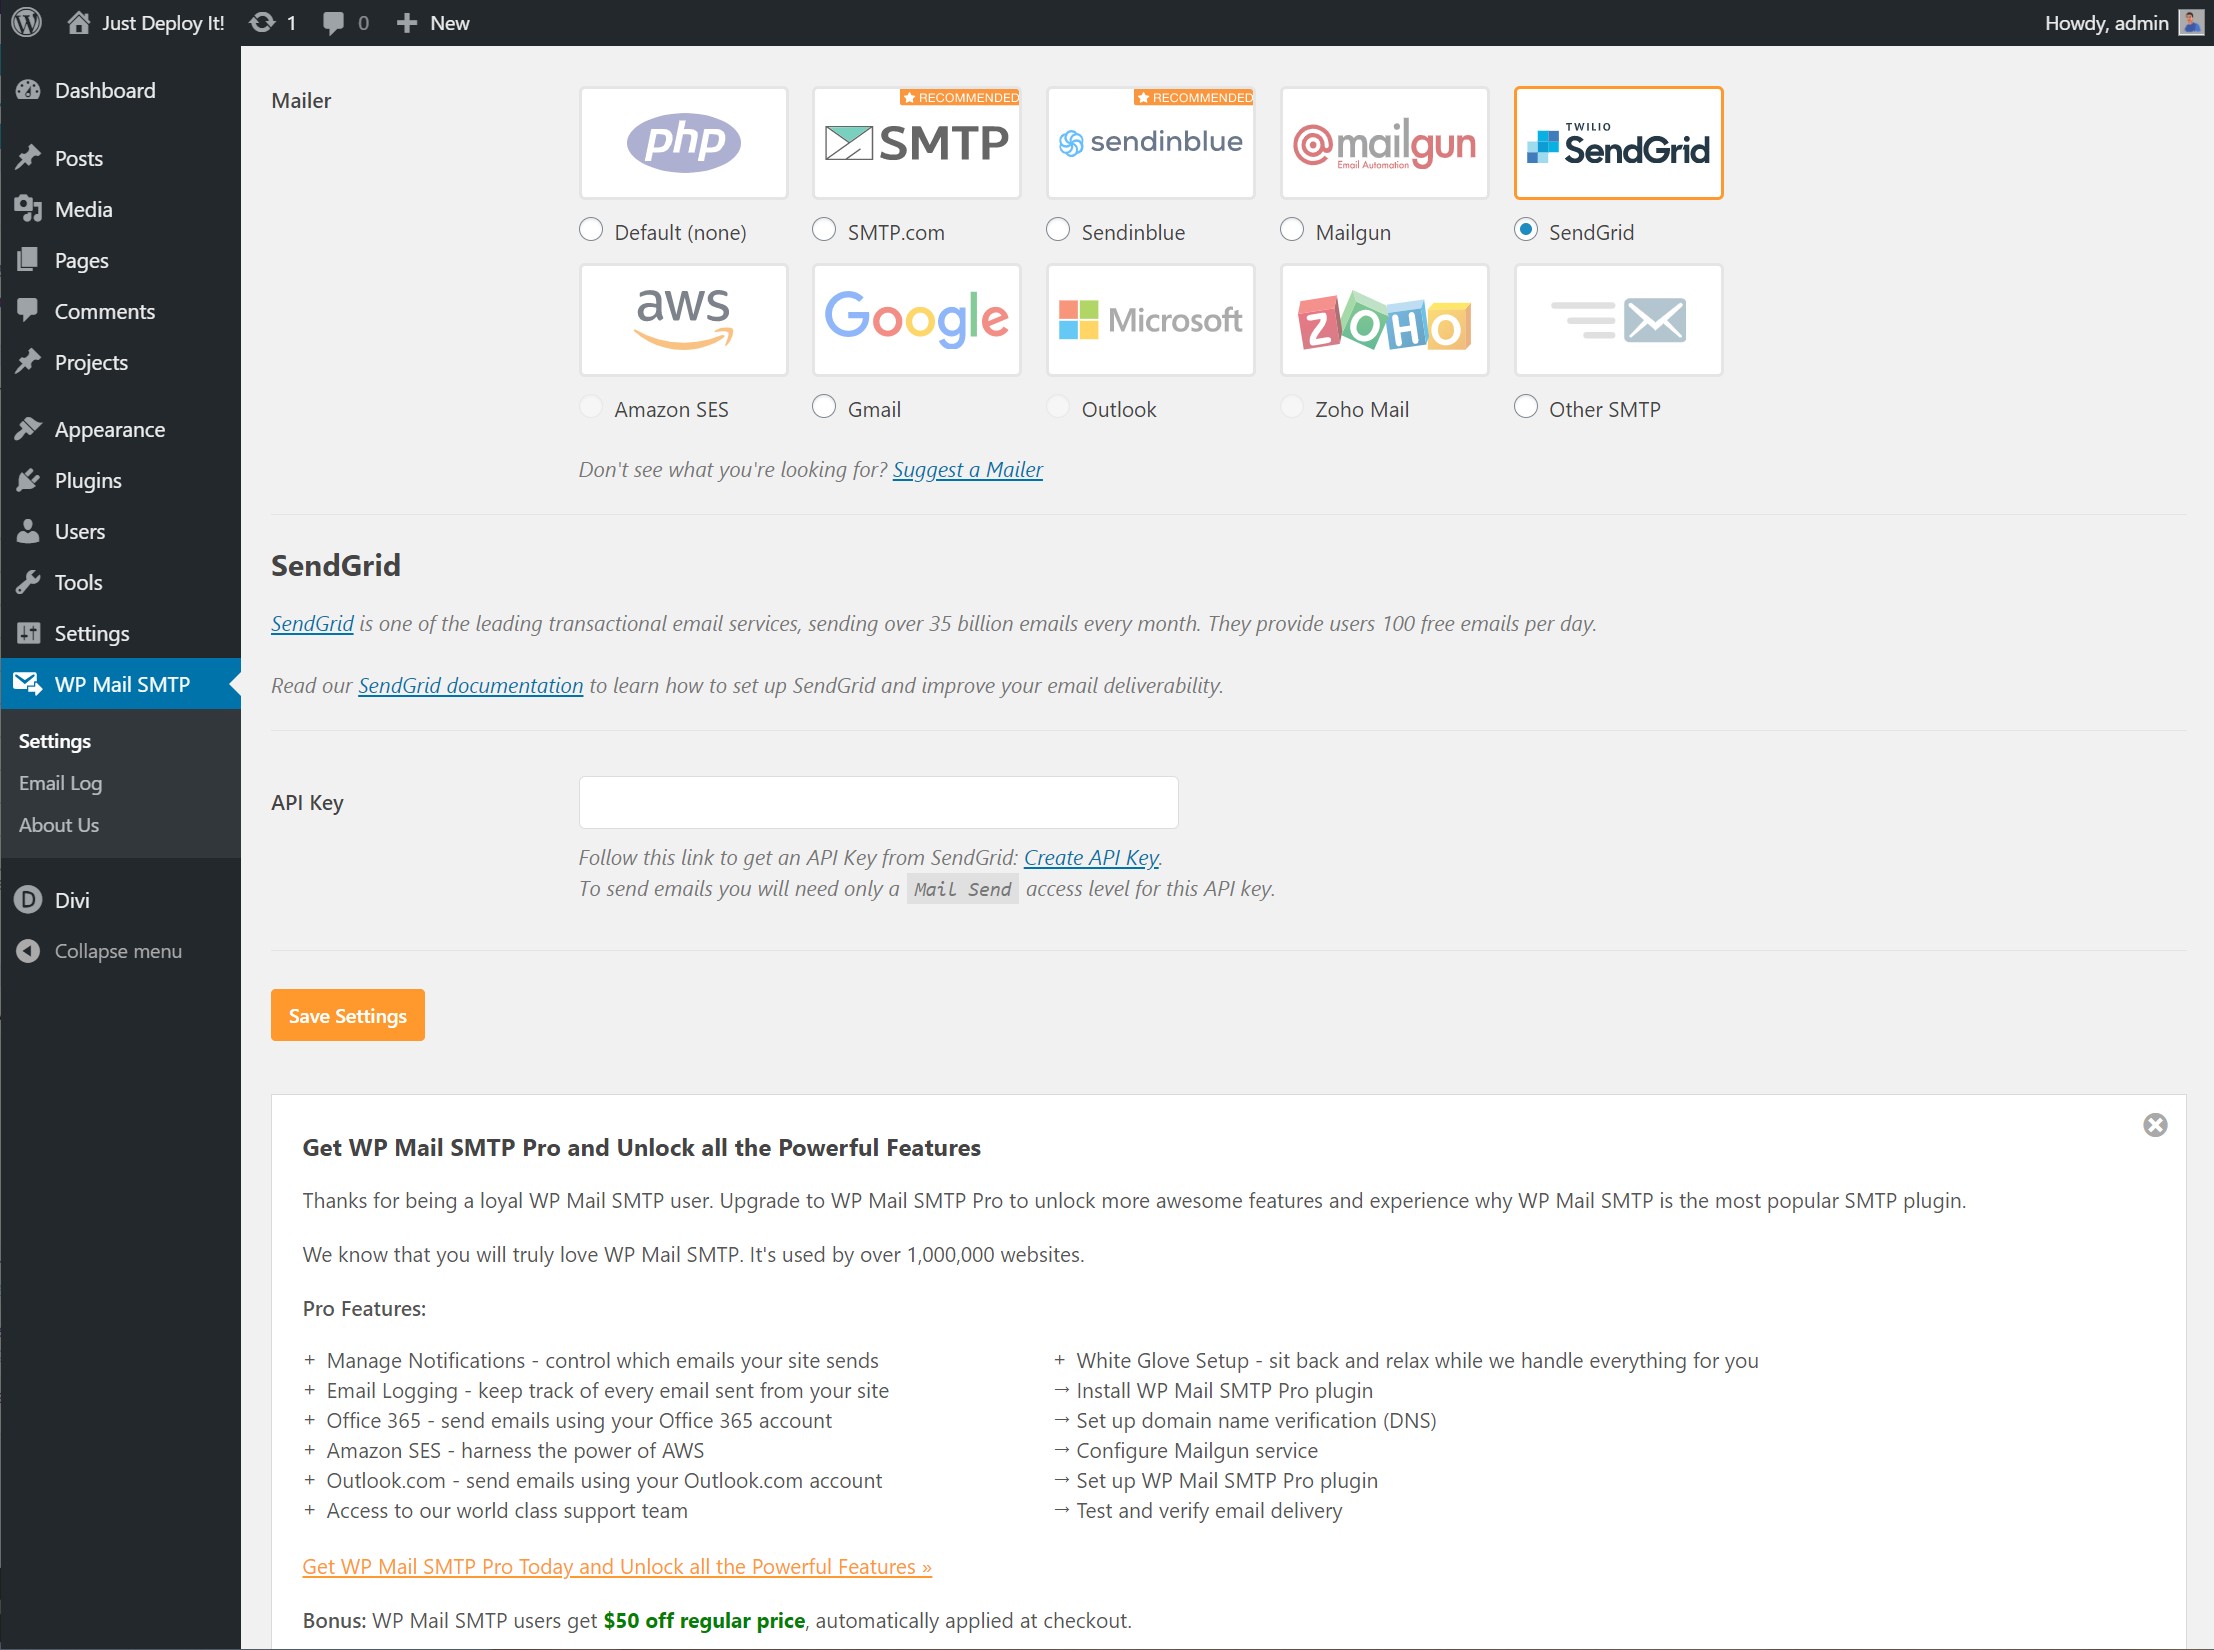
If you decide to use Sendgrid instead, the steps are even more simpler. You only need to create a new API Key on your Sendgrid control panel and then input the API Key on this plugin.

That's all there is to it, Sendgrid will be activated on your site.
Using your own SMTP server
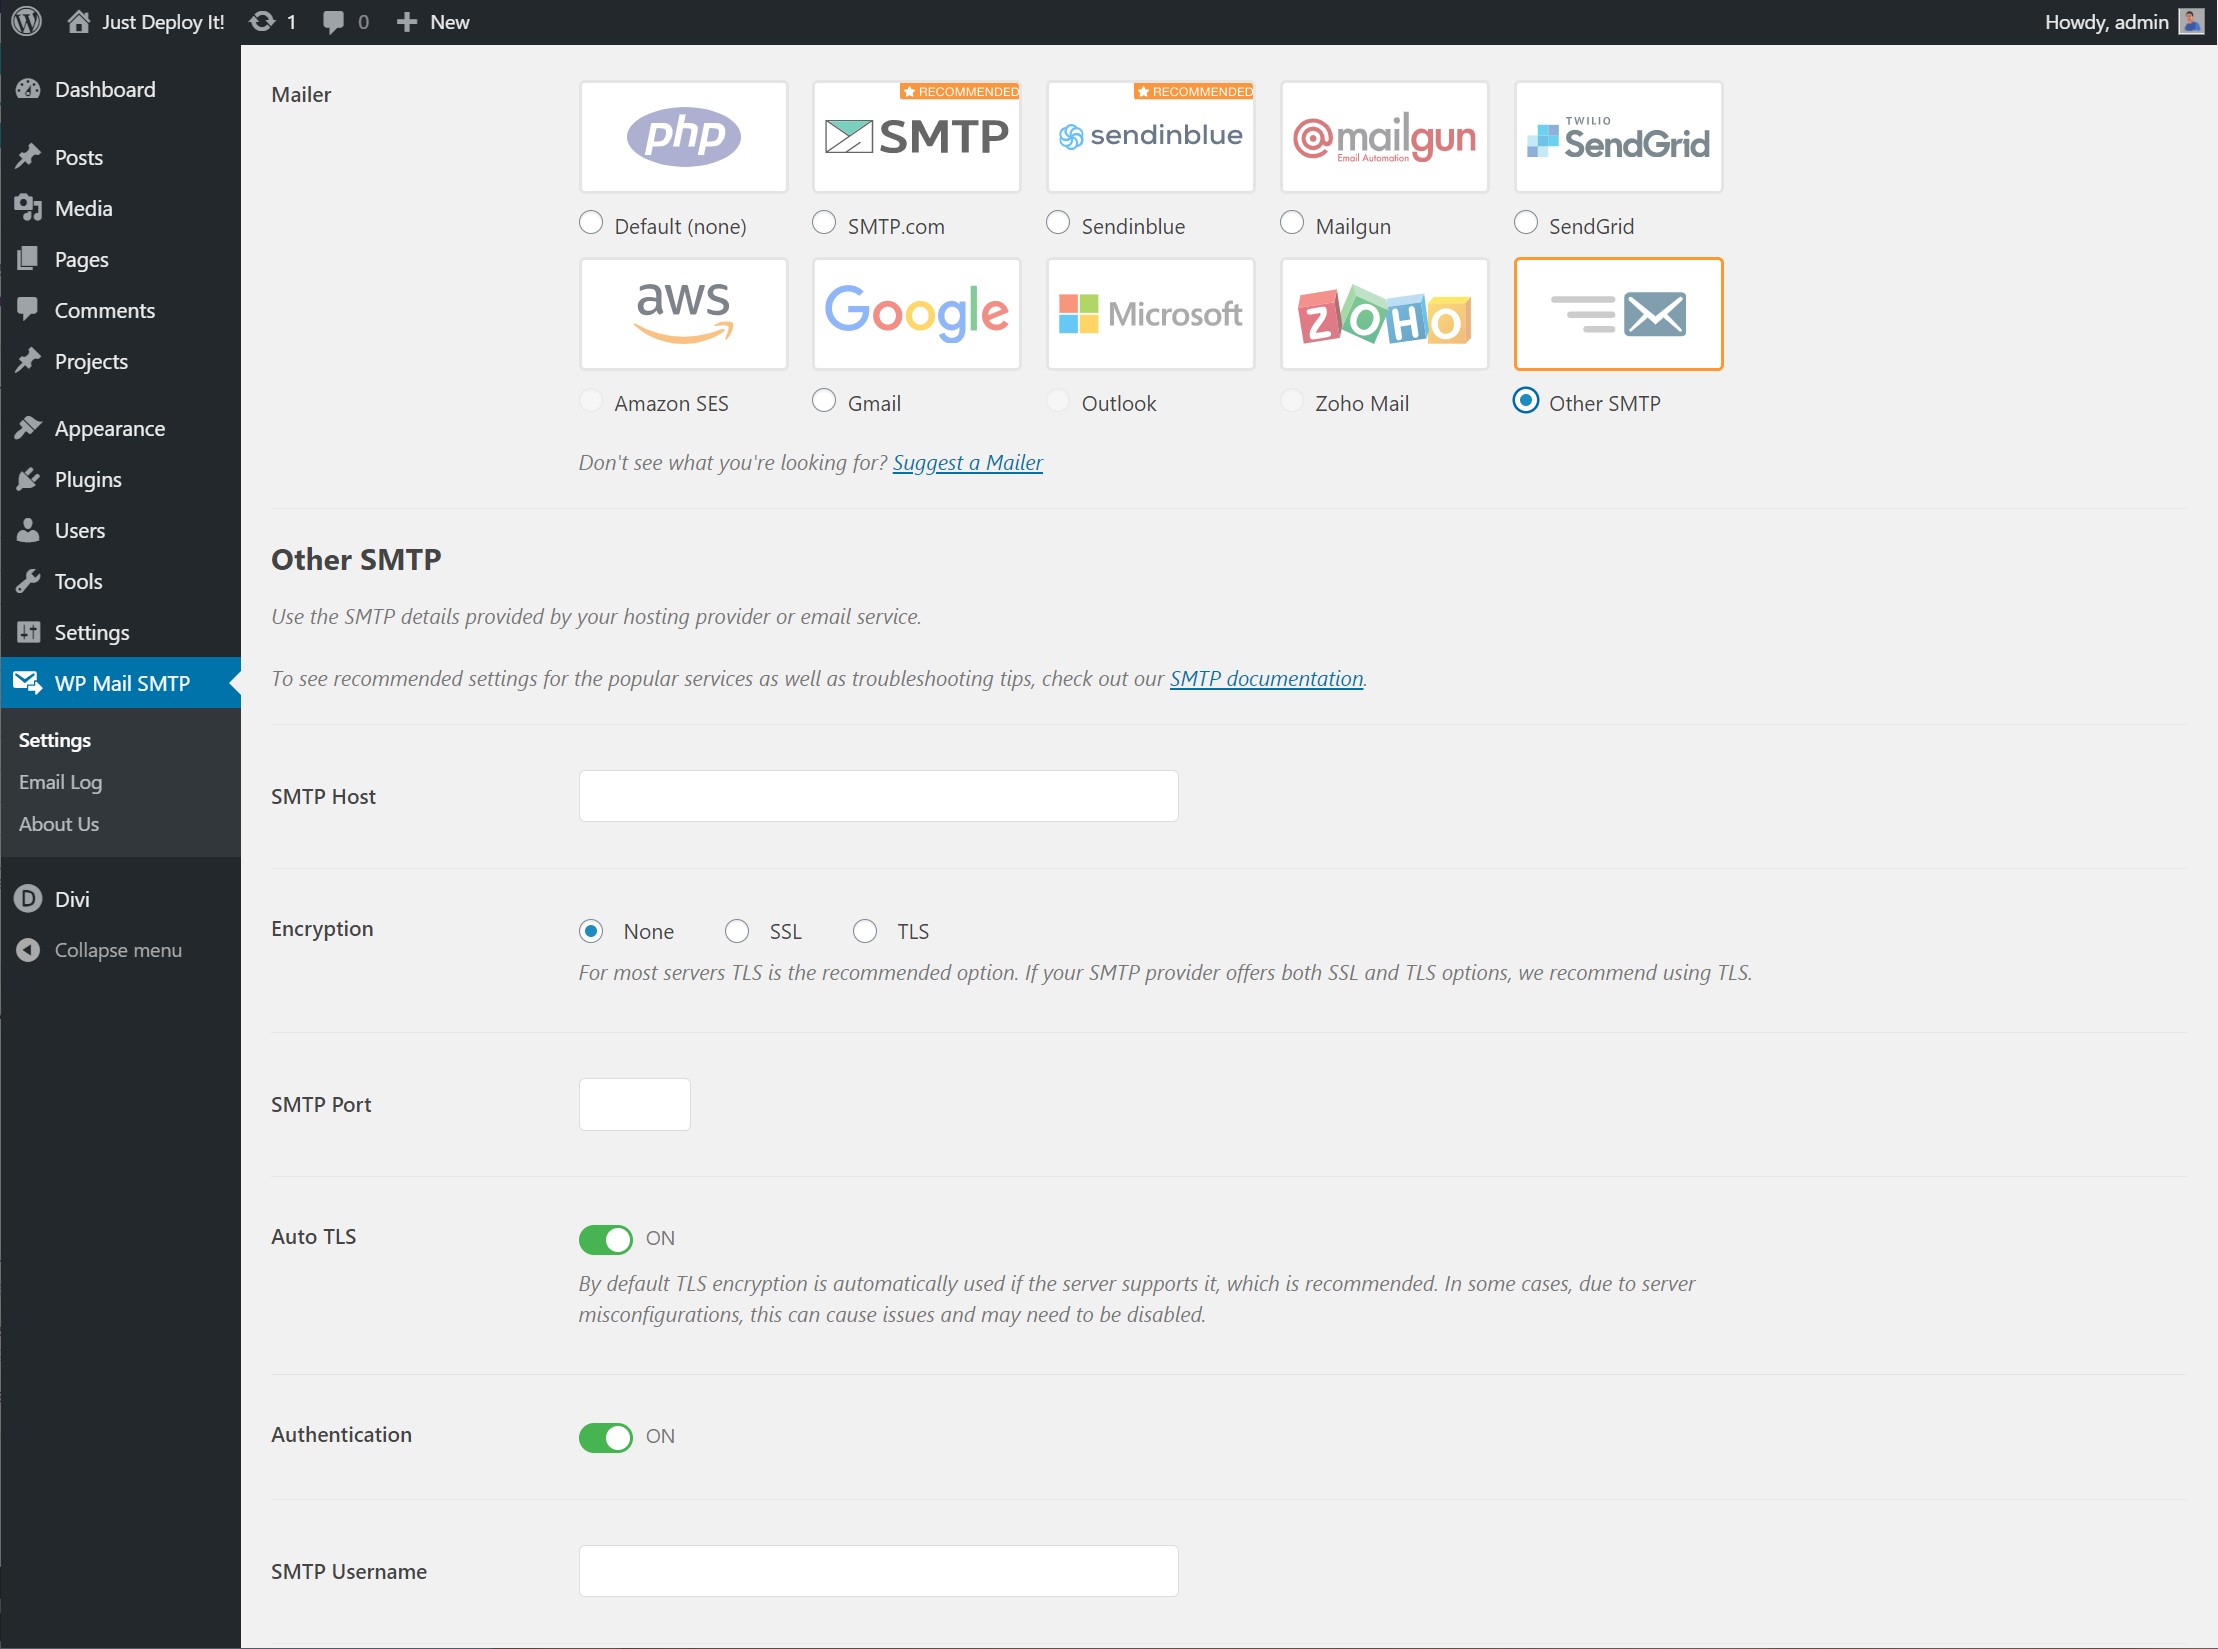
To be able to use your own SMTP server you need to select the Other SMTP option.

The easiest way to use your own SMTP server is to enable TLS, use Auto TLS and Enable Authentication. Do not forget to fill the SMTP Port that your server is going to use. Most servers use the default 587 port for TLS encrypted mail.
Test your service
With your current service configured, now it's time to test that your internal email send functionality is working properly. Go to the Email Test tab

Now on the Send To box, fill your email (your personal email and the one you use the most), leave HTML enabled and click on Send Email. Check your email.
Congratulations!. Now you have implemented a secure way to send emails from your site without compromising your domain.

