BEFORE STARTING: Please be aware that before any cloning process takes place, it is recommended
to disable any and all backup plugin systems, such as Updraft on the site that will be cloned.
These types of plugins could potentially update the cloned site with incorrect information
creating data corruption.
After the cloning has been completed, the customer must update the destination site
with proper information on those backup plugins to avoid corruption.
Cloning a WordPress website involves creation of a full website copy with all website files, database, and settings. Clone a WordPress website:
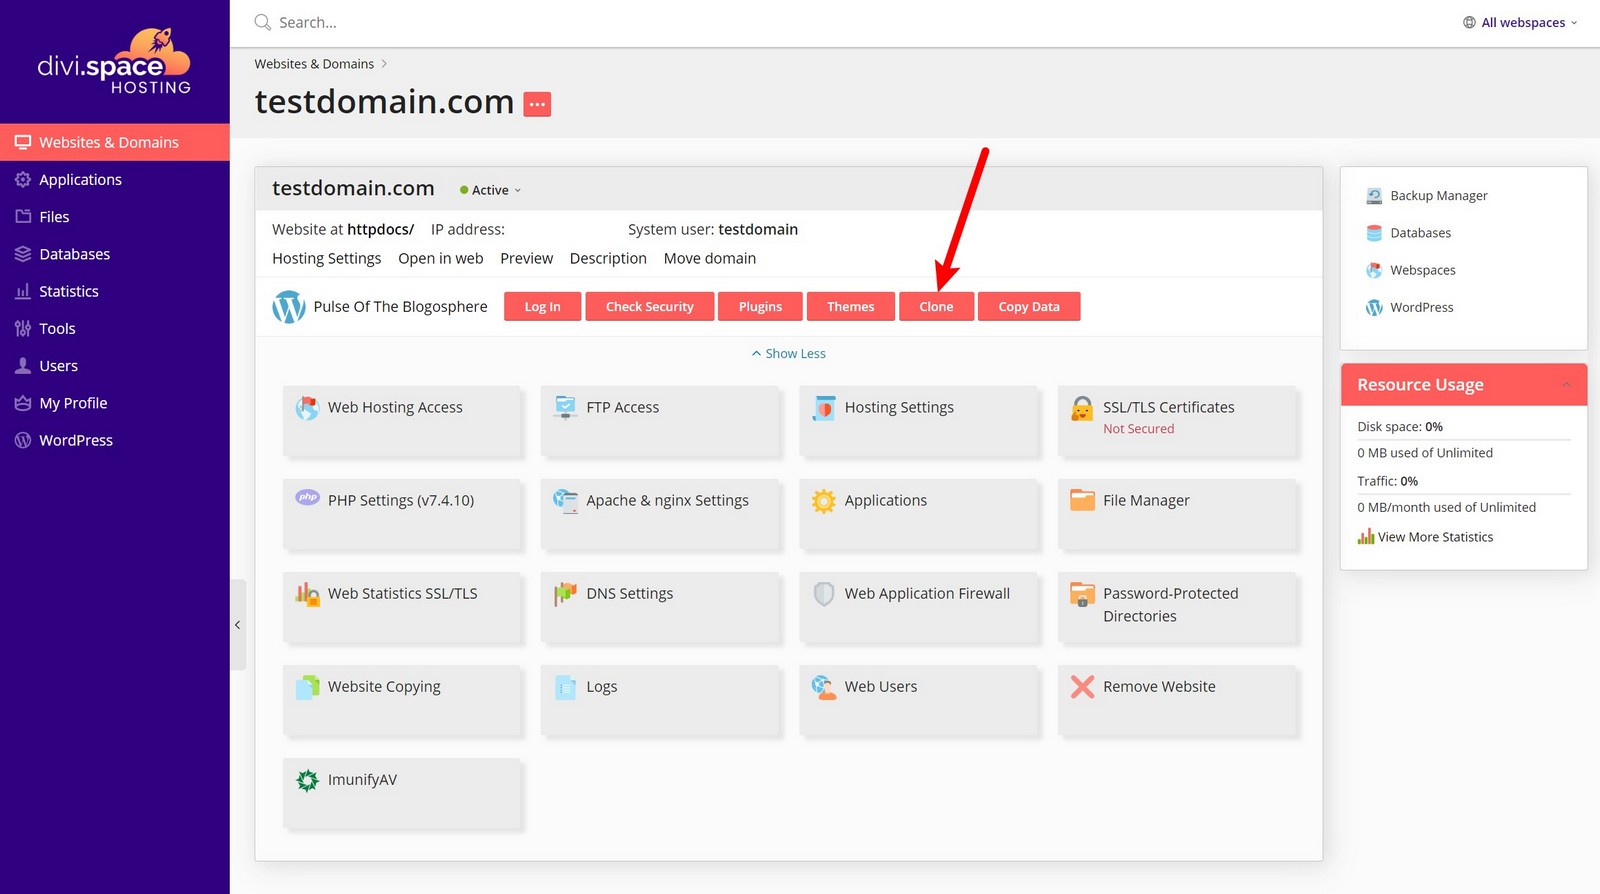
You can access the Clone functionality from within your domain details, this will invoke the WordPress Toolkit.

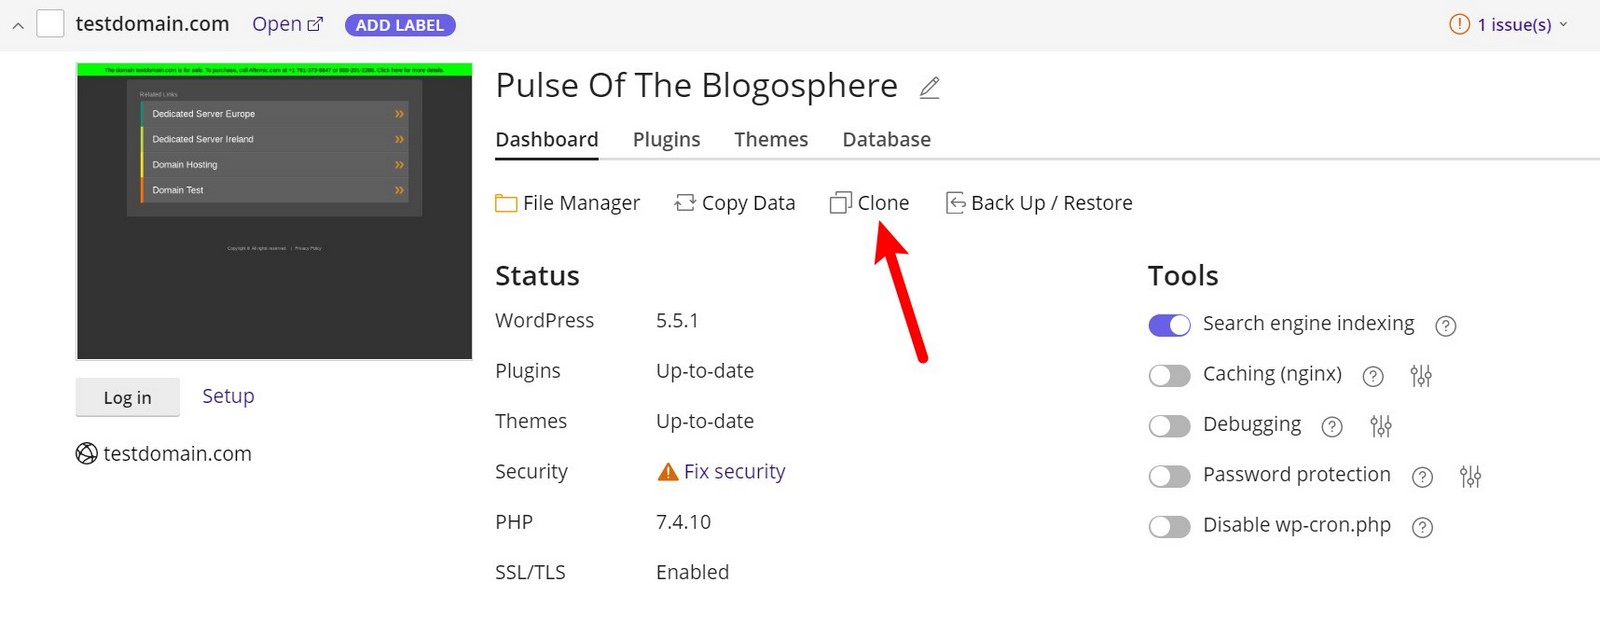
Or from the WordPress toolkit by clicking on WordPress on the main menu (Left), which will bring the WordPress toolkit sites interface.
- Then click “Clone” on the card of the WordPress installation you want to clone.

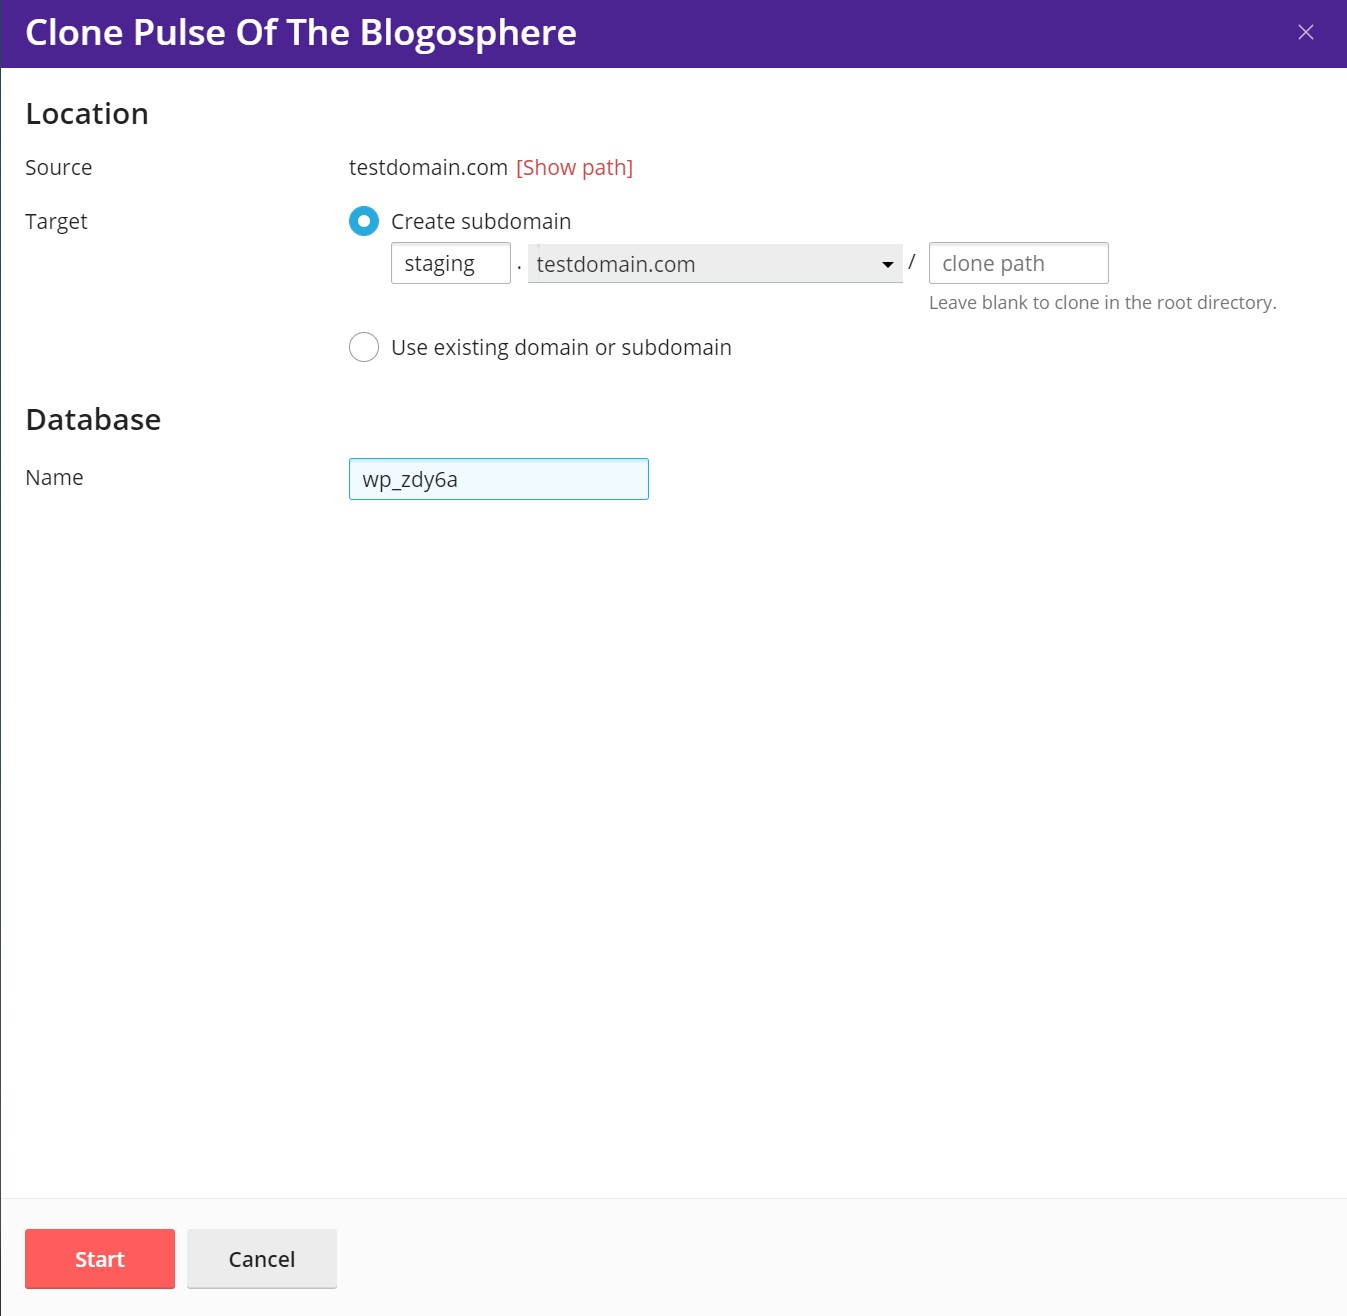
Either method, by the domain details or by accessing the WordPress Toolkit button, once clicked will show you the Clone options.
- Select the target where to clone the website:
- Keep “Create subdomain” to have WordPress Toolkit create a new subdomain with the default “staging” prefix. You can use it or type in a desired subdomain prefix.
- Select “Use existing domain or subdomain” and then select the desired domain or subdomain from the list.
- (Optional) Change the name of the database automatically created during cloning.

- When you are satisfied with the selected target and the database name, click Start.
When the cloning is finished, the new clone will be displayed in the list of WordPress installations.

